Thursday, February 18, 2010

One Mouse - 4 Challenges!


Hello my "Blogging Friends"!
I am submitting this card for 4 challenges:

House Mouse & Friends - Folds, more than one fold. This gave me the opportunity to try making a "Joy Fold " card which I have been wanting to try for awhile. The pictures below show the different folds. You can find a tutorial HERE on how to make a joy fold card. Tutorial is by Splitcoast Stampers.

Cupcake Craft Challenge - Keep it simple. This is actually pretty simple for me. I usually like to throw on some ribbon, flowers, maybe some bling. Avoided that for this challenge.

A Spoon Full Of Sugar - Spring is in the air!

ClubCK / Cards, Crafts & Decor (hosted this week by Geminijen) - Spring and at least one element of the card "popped" with a pop dot or dimensional. I popped the circle at the top that holds the flap down.


Inside of card.


Thanks for stopping by!

Supplies Used:
Image: House Mouse / Flower Drop by Stampabilities
Ink: Memories
Sentiment: Computer generated. Font from dafont.com
Printed Paper: We R Memory Keepers
Cardstock: Bazzill
Tools Used: Spellbinders Nestabilities and Cuttlebug Embossing Folder
Embellishment: Pearl by Kaiser
Technique: Image colored with Prismacolor color pencils
Completed card size: 4 1/4" x 5 1/2"

Thursday, January 28, 2010

Post It Note Holder


Thought I would take a break tonight from making cards and make a Post It Note holder to hold the 3" x 3" note size. I started with a piece of cardboard about the thickness of a cereal box cut to the size 3 1/8" x 8". I chose to use origami paper with a pretty Asian print to cover my holder. I cut the outside piece 3 7/8" x 8 7/8" and the inside piece 3" x 7 7/8". I then scored the cardboard, starting from the left side, at 6/8", 1 2/8", 4 3/8" and 4 7/8". Fold along all the score lines and crease well with bone folder. I then coated the wrong side of the outside piece of paper with Elmer's No Wrinkle Rubber Cement and applied to the cardboard piece. Fold in all four corners and then each adjacent side. I then applied the inside piece after applying glue to it's wrong side.

I cut two pieces of a thin magnet sheet each measuring 5/8" x 2 3/4" and applied to the flap of the holder.

I wanted to keep to a simple but elegant look so I chose not to over embellish....something I have a tendency to do. I made a tassel from embroidery floss and added a dragonfly charm. I thought this was just enough embellishment letting the paper be the main focus of the holder.

I then used double sided tape to attach my post it note pad to the inside. The magnets keep it closed but yet easy to open when ready to use.


Here are some pieces I have cut for a second holder. This was quick and easy to make and a lot of fun. Wish I would have thought of these before Christmas!

Thanks for stopping by.

Friday, January 22, 2010

Crazy 4 Challenges - C4C20 - A Sketch


I love Navajo Anya and this is my first time to use her. Also my first time I think to participate in the Crazy 4 Challenges challenge blog. The current challenge is a sketch. I've posted it below but you will also want to take some time to check out the blog to see the design team and participant's take on the sketch. Loads of talent and inspiration over there!

I colored Anya with my Prismacolor color pencils. Sorry her skin is looking blotchy in the pictures but trust me she doesn't in real life. Had a hard time getting a good picture. I took some copper tooling foil and cut an oval shape with my Spellbinders Nestabilites, embossed it with the Cuttlebug paisley embossing folder, cut two slits in the middle with a Marvy punch to weave my deerskin lace through....and I had the perfect embellishment for my card.

I chose to do a simple decoration in the inside with a Cherokee expression printed on the left. With leaving the inside simple I have plenty of room to write if I want to use this as a note card or I can add a sentiment later suitable for the occasion I choose to use this card for.

This is the sketch we were to use for the challenge.

Thanks for stopping by!

Supplies Used:
Image: Navajo Anya by The Greeting Farm
Cardstock: Bazzill
Printed Paper: S E I
Ink: Memories
Embellishments: Feathers from my stash, antique brads from my stash, deerskin lace by Hobby Lobby and copper tooling foil by Blick Art
Tools Used: Spellbinders Oval Nestabilities, Cuttlebug paisley embossing folder, Marvy slit punch
Techniques Used: Image colored with Prismacolor color pencils
Completed card size: 5 1/2 " square

Tuesday, January 12, 2010

Friday Sketchers Challenge #84


My first card for 2010 and it is for one of my favorite challenge blogs...Friday Sketchers. Been awhile since I have made a card....was sick...the holidays....my son home on school break....and well....kind of lost my mojo on top of everything. I have set some crafting goals though for myself for 2010 so I hope my mojo has returned so I can get started on those goals. I hope all my blogging friends had a happy holiday in what ever way you may celebrate. I wish you all a very happy and healthy 2010. I will be visiting all my favorite blogs in the next day or two to get caught up and see what you all have been creating. Thanks for stopping by!

Below is the sketch from Friday Sketchers:
Supplies Used:
Image: Bildmalarna
Printed Paper: Unknown
Cardstock: Bazzill
Ink: Memories
Tools Used: Martha Stewart floral border punch, Cuttlebug's swiss dot embossing folder and Spellbinders Nestabilities
Technique Used: Image colored with Prismacolor color pencils and blended with Gamsol
Completed card size: 51/2" square

Tuesday, December 8, 2009

Tails of True Love / House Mouse


The challenge this week on the Paper Crafts message board is being hosted by Tasia and she challenged us to make a card that is any shape but square or rectangle. This was perfect because I have been wanting to make a heart shape card using my Spellbinders Nestabilities.

Inside view

Supplies Used:
Image: Stampabilities House Mouse "Tails of True Love"
Ink: Memento
Cardstock: Bazzill
Tools Used: Spellbinders Nestabilities and BossKut Flourish die
Embellishments: Pearls by Hero Arts, flowers by Prima and brads from my stash
Techniques: Image colored with Prismacolor color pencils and blended with Gamsol

Thanks for stopping by!

Thursday, December 3, 2009

Paper Bag Purse


I found this tutorial for these adorable paper bag purses and just had to try making one. The instructions were super simple to follow and I put this together in about 20 minutes. Super fast and easy! I think these would be adorable to give some Christmas cookies or candies to friends and co workers. They would also be perfect in other themes such as birthdays. Couldn't you just see one of these done up very girly girl with lots of bling? Oh I could see doing a beaded handle and adding some flowers.......I think I will be making lots of these in the future! You can find the tutorial for making these HERE.


Inside the purse.

Tuesday, December 1, 2009

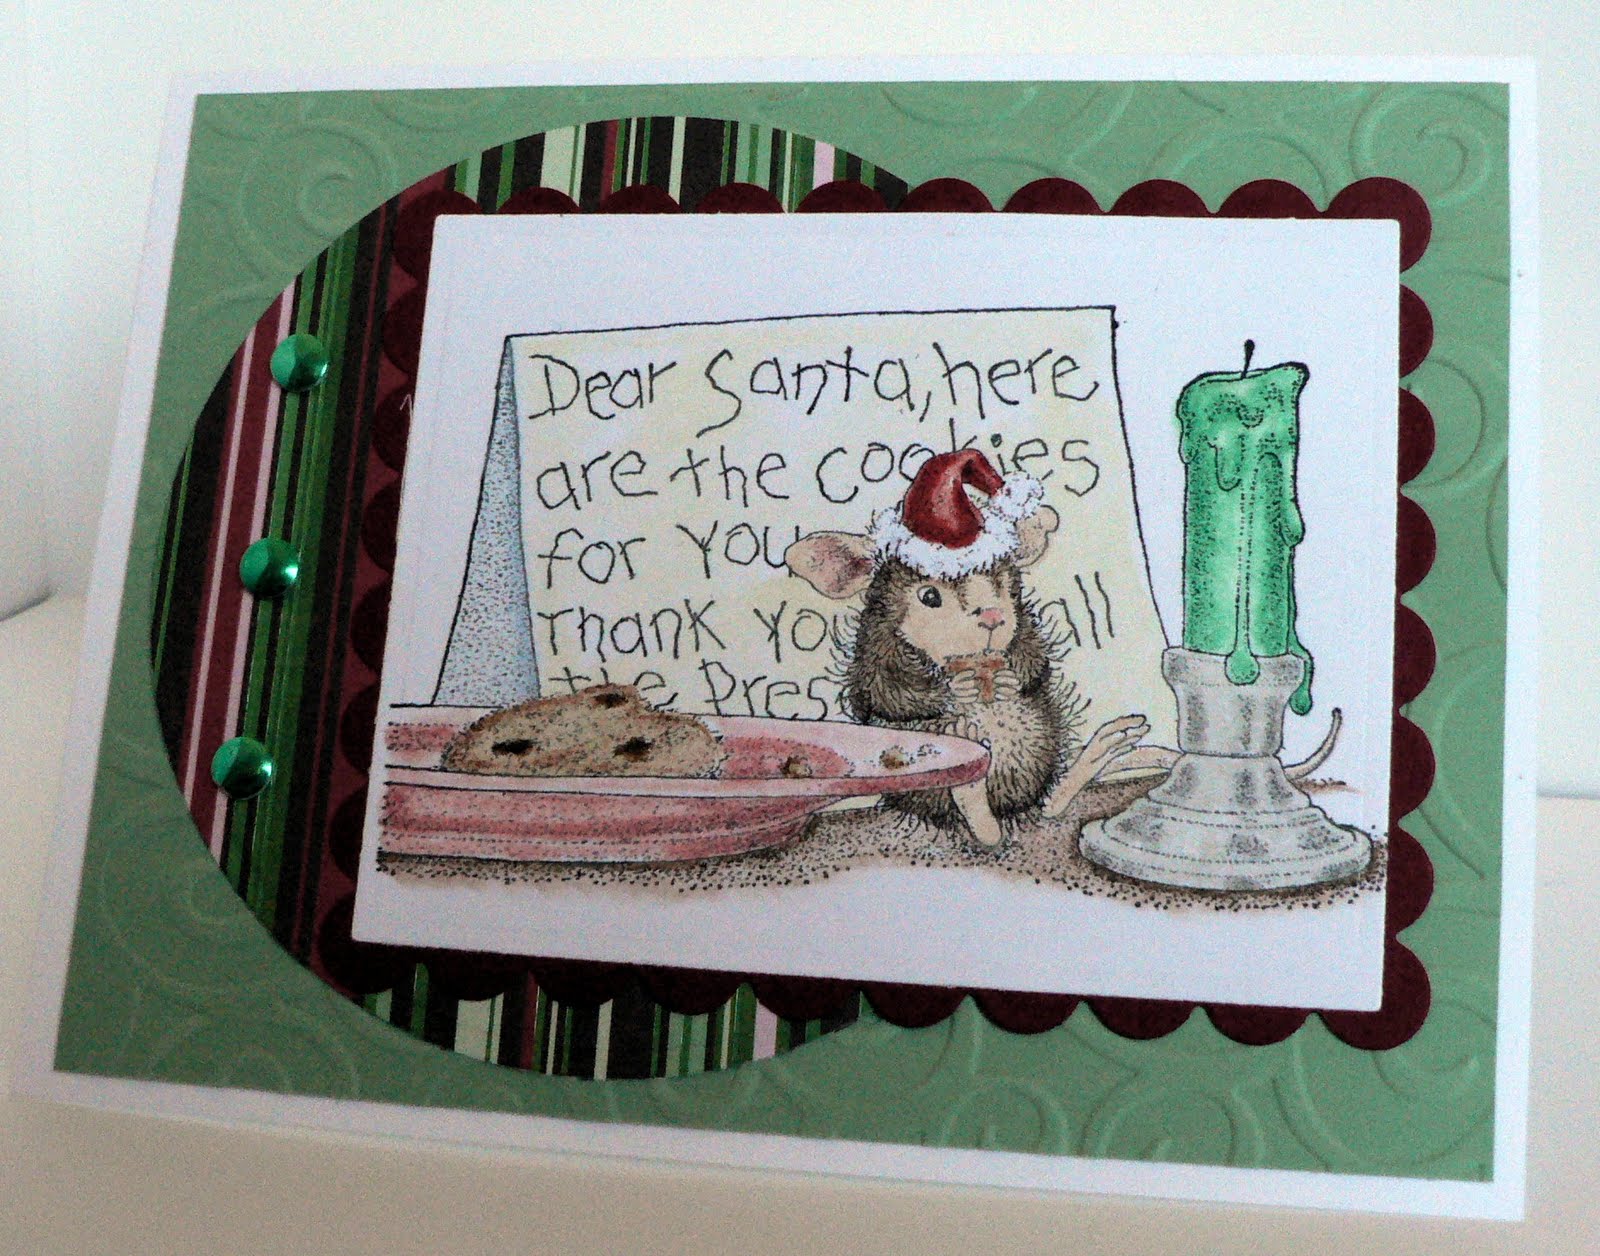
Christmas card & 3 challenges!


It's that time of year again when I start frantically trying to get all my Christmas cards made. You would think I would work on them all year and not be rushing at last minute....but no. One of these years maybe I will learn. I'm trying to make cards that are A2 size and with not too many lumpy embellishments so that it doesn't cost me a fortune in postage. I'm having a hard time though keeping my cards simple. I'm so into ribbon, flowers, bling and all those fun things that make it harder to mail your card. I don't think I did too bad with this one though. I was also able to make it work for three challenges, as well as I was able to use my scraps from the last card I made. Yeah!

The challenges I'm able to enter this card for are:
2 Red Bananas - A Christmas card
Cupcake Craft Challenges - Use the colors red and green
The Pink Elephant Challenge - Use your favorite coloring medium which in my case is to use my Prismacolor colored pencils. I love coloring with them!
I would highly recommend stopping by all three of these challenge blogs to check them out for some awesome inspiration.

Supplies Used:
Image: House Mouse "Santa I ate your cookies"
Ink: Memento
Cardstock: Bazzill
Printed Paper: Christmas Mint by SEI
Tools Used: Spellbinders Nestabilities and Cuttlebug Embossing folder
Embellishments: Metal dots by Colorbok
Techniques used: Image colored with Prismacolor colored pencils
Completed card size: A2